
Better Photos with Any Camera: Easy Tips and Tricks to Enhance Your Snapshots
Taking better pictures isn’t exclusively the domain of professional photographers or those with high-end equipment.
Whether you’re using a smartphone, a compact camera, or a DSLR, the key to elevating your photography lies in mastering a few fundamental techniques.
By understanding and applying these methods to your process, you’ll see a noticeable improvement in your photos, irrespective of the camera you’re using.

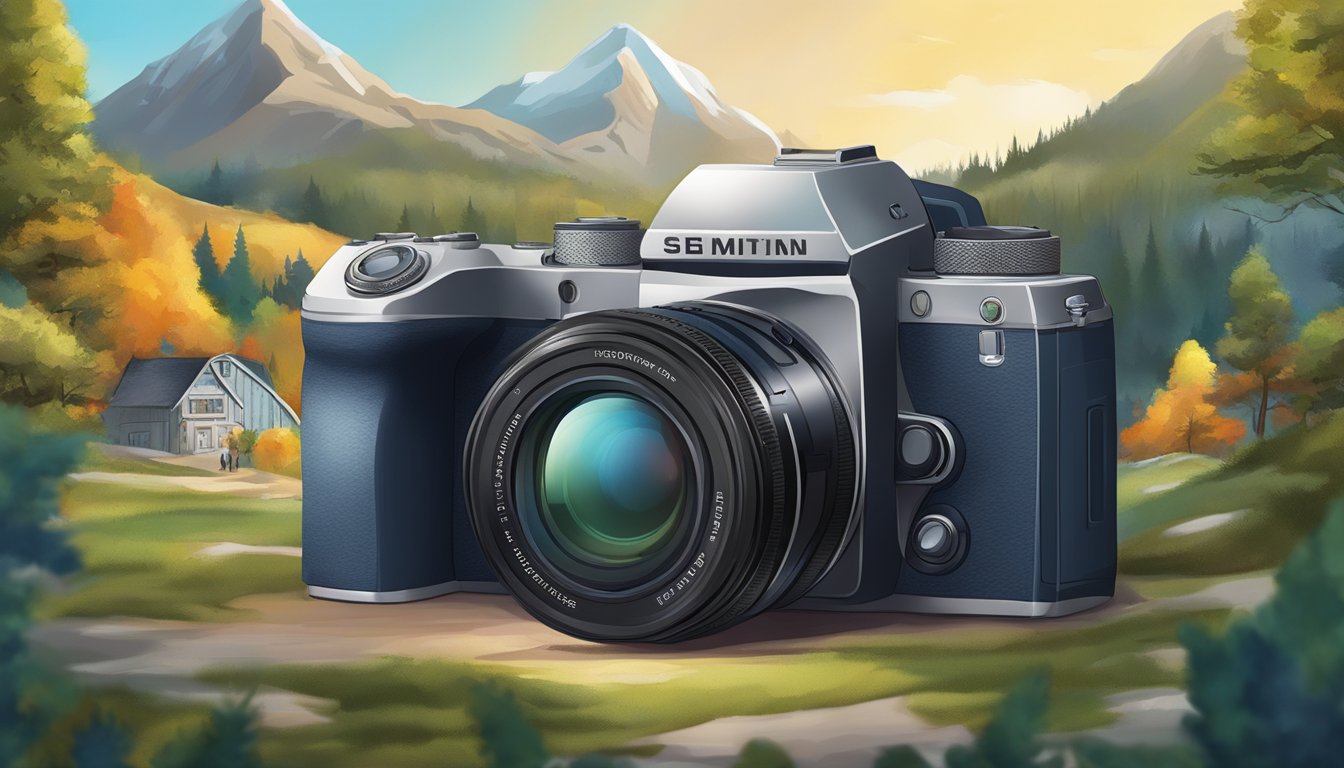
The journey to better photography begins with getting to know your camera’s capabilities and limitations.
Each camera, regardless of its make or model, has distinct features that can be harnessed to capture stunning images.
From there, focus on composition and framing to bring structure and balance to your shots.
Learning how to play with light will also vastly enhance the mood and impact of your photographs.
Moreover, it’s important to adapt your techniques when photographing various subjects, as different scenarios call for different approaches.
As you continue to hone your skills, remember that practice is invaluable.
Commit time to experiment with your camera and the plethora of techniques available to you.
Post-processing is another tool that can transform a good picture into a great one.
Don’t underestimate the power of editing to correct imperfections and enhance your photos’ overall appeal.
With consistent practice and learning, you’ll witness a marked improvement in your photography.
Key Takeaways
- Understanding your camera’s features can greatly enhance photo quality.
- Composition, framing, and lighting are crucial for impactful photography.
- Regular practice and post-processing significantly improve photo outcomes.
Understanding Your Camera

The key to taking better photos lies in understanding the technical side of your camera, whether it’s a DSLR, a smartphone like an iPhone, or any other type.
Familiarize yourself with camera settings and the impact they have on your images.
Getting to Know Camera Settings
Your camera’s ISO settings, shutter speed, and aperture are the trifecta of photographic exposure.
ISO determines your camera’s sensitivity to light. A lower ISO number means less sensitivity, ideal for well-lit situations, whereas a higher ISO can be used in darker environments but may introduce graininess.
Shutter Speed affects how motion is captured, with faster speeds freezing action and slower speeds blurring motion.
Aperture controls the depth of field, which is how much of your photo is in focus. A lower f-number, or wider aperture, gives a shallow depth of field (good for portraits), while a higher f-number provides a deeper focus area (great for landscapes).
Equipment Essentials
Quality photos require the right equipment:
- A DSLR camera or a high-quality smartphone are solid choices for a variety of situations.
- Using a tripod can stabilize your shot, particularly in low-light conditions or when employing slower shutter speeds.
- Different lenses can dramatically change your photo’s composition; a telephoto lens brings distant subjects closer, while a macro lens is essential for extreme close-up shots. Be mindful of lens distortion, which can warp your images, particularly with wide-angle and zoom lenses.
Make sure to carry an extra memory card to avoid running out of storage at a critical moment.
Mastering Focus
Achieving clear and sharp photos is all about mastering the focus:
- Modern cameras typically have multiple AF (autofocus) points which give you control over where the camera should focus. Use them to guide viewers through your image and add depth.
- For portraits, a shallow depth of field can make your subject stand out from the background. Achieve this by using a wide aperture.
- When shooting landscapes or group photos, ensure everything is in focus by selecting a smaller aperture.
Composition and Framing

Improving your composition and framing can transform your photographs from average to captivating.
By considering where you place subjects within the frame and how you use the surrounding elements, you can create a well-balanced and engaging shot.
The Rule of Thirds
Activate the grid on your camera or imagine a 9-part grid overlaying your view.
Aim to place important elements of your shot at the intersections or along the lines.
This technique, known as the Rule of Thirds, naturally balances your photo and makes it more visually pleasing.
Working with Backgrounds
Pay attention to the background of your shot. It should complement, not distract.
For a cleaner, more focused image, use a large aperture to create a bokeh effect, which blurs the background.
Check the edges of your frame to avoid unwanted elements that could frame your subject in an unflattering way.
Guiding the Viewer’s Eye
Use leading lines to direct attention to your focal point, be it a person, a landmark, or a horizon.
Experiment with different angles and perspectives to discover unique compositions.
Incorporate elements like symmetry and reflections to add depth and interest to your photographs.
Your goal is to guide the viewer’s eye throughout the image in a way that tells a story or conveys an emotion.
Lighting Techniques

Improving your photography significantly often comes down to mastering lighting.
Creating the right balance between light and shadow can transform your images, setting the desired mood and ensuring successful exposure.
Whether you’re using natural lighting or setting up studio lights, understanding how to control light is crucial.
Natural Light Photography
You can create stunning photos by using natural light effectively.
The golden hour, occurring shortly after sunrise or before sunset, provides warm, soft light that can enhance the colors in your photos.
Similarly, the blue hour, which occurs just before sunrise or after sunset, offers a cooler, ethereal type of light, great for moody landscapes.
During these times, light and shadow play gently, allowing for great dynamic range without harsh contrasts.
If you’re indoors, window light can serve as a beautiful source of diffused light, perfect for portraits.
Aim to place your subject near a window where soft light streams in, avoiding direct sunlight that can cause harsh shadows.
- Time of Day for Ideal Natural Light:
- Golden hour: Warm, soft light
- Blue hour: Cool, ethereal light
- Overcast days: Diffused, even light
Studio Lighting Setup
When you transition to shooting with studio lighting, control is key.
Use key lights to define the subject and fill lights to soften shadows.
If you’re aiming for a more dramatic effect, increasing the contrast between light and shadow by adjusting the position and intensity of your key light can do the trick.
Remember to also use a backlight or hair light to separate the subject from the background, adding depth to your images.
- Basic Studio Lighting Components:
- Key light: Main light source, defines the subject
- Fill light: Softens shadows, reduces contrast
- Backlight: Separates the subject from the background
Controlling Exposure
To avoid an underexposed image or overexposed highlights, you must manage exposure diligently.
Your camera’s exposure settings—shutter speed, aperture, and ISO—work together to control how much light is captured.
In changing light conditions, prioritize your settings: choose a wide aperture for more light and a fast shutter to freeze action.
Experiment with HDR (High Dynamic Range) imaging to achieve a balanced exposure in high-contrast scenes.
It combines different exposures of the same scene to preserve detail in both shadows and highlights.
- Exposure Settings:
- Shutter Speed: Affects movement and light intake
- Aperture: Controls depth of field and light intake
- ISO: Adjusts the sensor’s sensitivity to light
Shooting Different Subjects

Capturing stunning images of different subjects requires specific techniques tailored to each scenario.
Whether it’s the expression of a person in a portrait or the vastness of a landscape scene, each subject has unique aspects that can be highlighted with the right approach.
Portrait Photography Tips
For portraits, focus on your subject’s eyes and expressions, as they often convey the most about their personality.
A shallow depth of field (using a wide aperture) will keep the subject in focus while blurring the background, making them stand out.
When shooting candid portraits, try to capture natural expressions and interactions by being unobtrusive and ready to snap a photo at any moment.
- Lighting: Use soft, diffused lighting to flatter your subject’s features.
- Background: Keep it simple and uncluttered to avoid distractions.
- Colors: Pay attention to color contrasts between the subject and their clothing or the background to ensure they pop.
Landscape Photography
When taking landscapes, think about the fore, mid, and background layers to create depth in your images.
Capture the warm glow of a sunrise or sunset to inject remarkable colors into your shots.
The best landscape photos often have a point of interest, such as a tree or building, to draw the viewer’s eye.
- Time of day: Lighting during the golden hours, shortly after sunrise or before sunset, typically offers the most dramatic landscapes.
- Composition: Use the rule of thirds to align the horizon and compose your shot.
- Field: Include elements that emphasize the scale, like a person or vehicle in the vastness of your scene.
Capturing Motion
For dynamic shots full of energy, such as in sports or dance, use a faster shutter speed to freeze the action. Alternatively, use a slower one to create motion blur that conveys movement.
Anticipate the action and be ready to capture the peak moment. It’s essential to understand the flow of movement in the scene to position yourself effectively.
- Shutter speed: Use 1/500th of a second or faster for sharp images, or slow down to 1/60th or less for a blur effect.
- Panning: Follow your subject’s motion with your camera for a sharp focus on them and a blurred background.
- Contrast: Look for contrasting elements, like a bright-colored uniform against a muted field, to make your subject stand out.
Post-Processing Techniques

Enhancing your photos doesn’t end with the click of the shutter; post-processing is a vital step in reflecting your unique style and improving the content of your images.
Basic Photo Editing
Begin by importing your pictures into a photo editing software like Lightroom or Photoshop.
Adjust the basics: crop to improve composition, correct the exposure to brighten shadows or recover highlights, and tweak contrast for visual punch. Use the histogram as a guide for balanced lighting.
Remember, subtle changes often make the most significant impact.
- Crop for better composition
- Adjust exposure and contrast
- Histogram as a guide
Working with RAW Files
RAW files serve as your digital negatives, containing all the data captured by the camera sensor.
These files give you more flexibility in post-process than JPEGs, allowing you to fine-tune details, balance, and color accuracy. Your adjustments won’t degrade the quality, as no data is discarded.
Software such as Lightroom provides a non-destructive workspace to manage these files.
- Non-destructive editing
- Greater detail and color control
Final Touches & Exporting
After improving your image, apply final touches.
Sharpen the details subtly to enhance textures and clarify the edges without introducing noise.
Consider the artistic vision that prompted you to take the photo and use effects sparingly to enhance rather than overpower your photography skills.
When satisfied, export your edited photo in the appropriate file format for your intended use, whether for web or print.
- Enhance textures with sharpening
- Apply effects to support artistic vision
- Export in appropriate file format
Practice Makes Perfect

Becoming a proficient photographer is much like any other skill—it requires consistent practice.
With every photo you take, you learn a little more about lighting, composition, and how to better operate your camera.
Here are some straightforward tips that can guide your practice sessions:
- Take Photos Regularly: Set aside time each day or week to focus solely on photography.
- Even snapping a few pictures on your daily walk can lead to improvements.
- Analyze Your Work: After taking photos, review them.
- Identify what works and what doesn’t. Make a note of recurring mistakes, such as cutting off limbs awkwardly or falling into composition clichés.
- Challenge Yourself: Pick a new photography aspect to concentrate on each week.
- Whether it’s playing with shadows, exploring angles, or something else.
| Week | Focus |
|---|---|
| 1 | Lighting |
| 2 | Angles |
| 3 | Composition |
| 4 | Color Balance |
- Embrace Imperfection: Not every photo will be a great photo.
- Learn from the bad photos; they often provide the most valuable lessons.
- Experiment Freely: Try different settings on your camera, explore new editing techniques, and don’t be afraid to capture unconventional subjects.
Remember, your unique style will emerge with practice, so keep your camera close, and don’t shy away from opportunities to capture the world through your lens.